

Table of Contents
- Daily Heavy Equipment Walk-Around Checklist
- Fluid Level Checks and Leak Detection
- Heavy Machinery Pre-Shift Inspection Template
- Brake and Control System Testing
- Tire, Track, and Undercarriage Inspection
- OSHA Heavy Equipment Inspection Requirements
- Preventative Maintenance Checklist for Excavators
- Safety Features and Protective Devices
Last Updated: August 26, 2026
Heavy equipment accidents cause over 18,000 injuries and 800 fatalities each year in the United States (bls.gov). Most equipment failures that injure workers weren't sudden, they were predictable. A brake system showing early wear, hydraulic fluid levels dropping, a bolt working loose. These announce themselves during inspections. The question is whether anyone is looking for them.

This guide walks you through the daily walk-around, pre-shift functional tests, and systematic checks that separate safe operations from unsafe ones. We'll show you what to inspect, how to document findings, and how to escalate defects before they become disasters.
Daily Heavy Equipment Walk-Around Checklist
A walk-around inspection is your first line of defense. It takes 15-20 minutes and catches issues before the machine leaves the yard. According to Safety Evolution's 2026 equipment inspection guidance, a proper walk-around verifies machine condition, assigns defect severity, and forces documented close-out before unsafe equipment returns to work.
Pre-Start Visual Inspection
Walk the entire perimeter slowly. Look for loose bolts, missing fasteners, visible cracks in the frame or boom. Check for fluid leaks underneath: engine oil, hydraulic fluid, coolant, fuel. A small puddle today becomes catastrophic failure tomorrow.
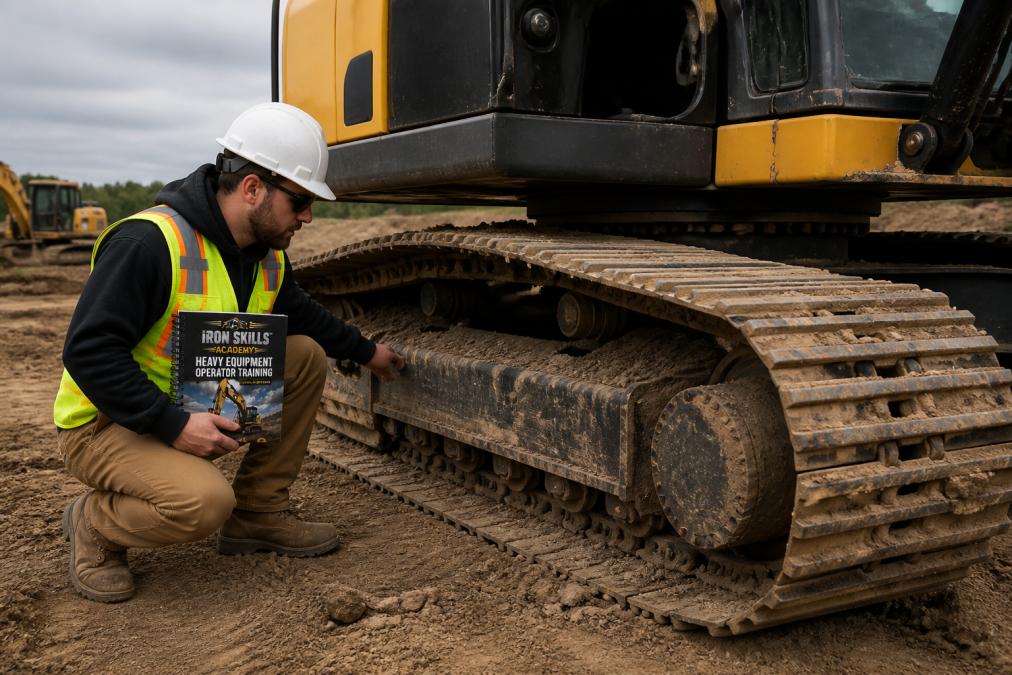
Inspect tires or tracks for damage, wear, or improper inflation. Deep cuts, bulges, or missing chunks mean the tire comes off the job immediately. For tracked equipment, check for loose or damaged track links and excessive tension. Look at the undercarriage for accumulated debris, mud, rocks, or metal shavings trapped in tight spaces can cause structural damage or hide developing problems.
Examine structural components for visible cracks, especially around welded joints on booms, buckets, and attachment points. Cracks don't repair themselves. Check that all guards and shields are in place and secure. Verify that safety labels and decals are legible. Check that mirrors, cameras, and backup sensors are clean, undamaged, and properly positioned. Make sure the fire extinguisher is mounted, accessible, and not expired.
Cab and Controls Verification
Climb into the cab and sit in the operator's seat. Check that the seatbelt is intact and functional. Test the horn and warning alarm systems. Verify that all gauges and meters respond when you turn on the key: fuel gauge, temperature gauge, hydraulic pressure gauge, ammeter. A gauge that doesn't move tells you something is wrong.
Check all mirrors and camera displays for clarity. Test the backup alarm to confirm it's audible at appropriate volume. Verify that the cab's interlock system works, if there's a door or seat bar designed to shut off the engine when opened, test it.
Inspect the controls: joysticks, levers, foot pedals. Look for cracks, loose connections, or stiffness. Move each control through its full range of motion slowly. They should move smoothly without grinding or catching.
Fluid Level Checks and Leak Detection
Fluid levels are the pulse of your machine. Low oil means inadequate lubrication and accelerated wear. Low coolant means overheating. Low hydraulic fluid means loss of power and control.
Engine oil: Pull the dipstick, wipe it clean, reinsert it fully, then pull it again to read the level. It should be between the minimum and maximum marks. Add the correct grade of oil only.
Coolant: The level should be between the minimum and maximum marks when the engine is cold. Never open a hot coolant cap. If coolant is low, add the correct mixture. Discolored or cloudy coolant indicates contamination.
Hydraulic fluid: Check the sight glass or dipstick. The level should be within the marked range. Hydraulic fluid that's dark, burnt-smelling, or contaminated needs replacement. Check all visible hydraulic hoses and fittings for leaks, cracks, or loose connections.
Transmission fluid: If your machine has a separate transmission system, check its fluid level according to the operator manual.
Fuel: Check the fuel level visually or using the gauge. Contaminated fuel, water in the tank, sediment, or debris causes injector problems and engine damage.
Look for fluid leaks anywhere fluid is stored or routed. Mark the spot with chalk and check it again after operation to see if it's growing. Document all leaks and report them immediately.
Heavy Machinery Pre-Shift Inspection Template
A structured pre-shift inspection ensures nothing gets missed. [Tenna's 2026 heavy equipment(/blogs/news/heavy-machinery-safety-training-for-teams) inspection checklist | tenna.com] outlines what a comprehensive daily checklist should include: loose or missing bolts, nuts, fasteners, tire or track wear or damage, debris in undercarriages, cracks or damage in structural components, fluid levels, and fire extinguisher expiration dates.
Use a consistent format every shift. Print a checklist and carry it with you. Mark each item as you inspect it. If something fails inspection, mark it clearly and do not operate equipment with failed safety systems.
Functional Testing in Safe Area
After the walk-around and before heading to the jobsite, perform a functional test in a safe, designated area away from other workers and structures.
Start the engine and let it warm up. Listen for unusual noises. Watch the gauges: oil pressure should rise and stabilize, coolant temperature should climb gradually, electrical system should show normal voltage.
Test the service brake: apply steady pressure and feel for responsiveness. The machine should slow smoothly without pulling to one side. Test the parking brake: engage it and ensure the machine holds position on level ground.
Test steering: turn the wheel or joystick fully left and right. Steering should be responsive and smooth. Test transmission shifts: move through forward and reverse slowly, feeling for smooth engagement.
Test hydraulic functions: lower and raise the boom or bucket slowly, checking for smooth, controlled movement. Extend and retract hydraulic cylinders. Listen for unusual noises from the hydraulic pump.
Test all warning systems: backup alarm, rotating beacon, strobe lights. Verify that the machine shuts down or limits operation when safety devices are bypassed.
Work-Area Risk Assessment
Before leaving the test area, scan the actual jobsite for hazards. Look at ground conditions: is it stable, or are there soft spots that could cause the machine to sink or tip? Are there slopes that could affect stability? Are there overhead hazards, power lines, trees, structures, that could contact the boom?
Identify blind spots around the machine. Plan your entry and exit routes. Mark exclusion zones where workers should not stand. Brief the crew on where the machine will operate and what hazards exist.
Brake and Control System Testing
Brakes are your emergency system. They must work reliably every time.
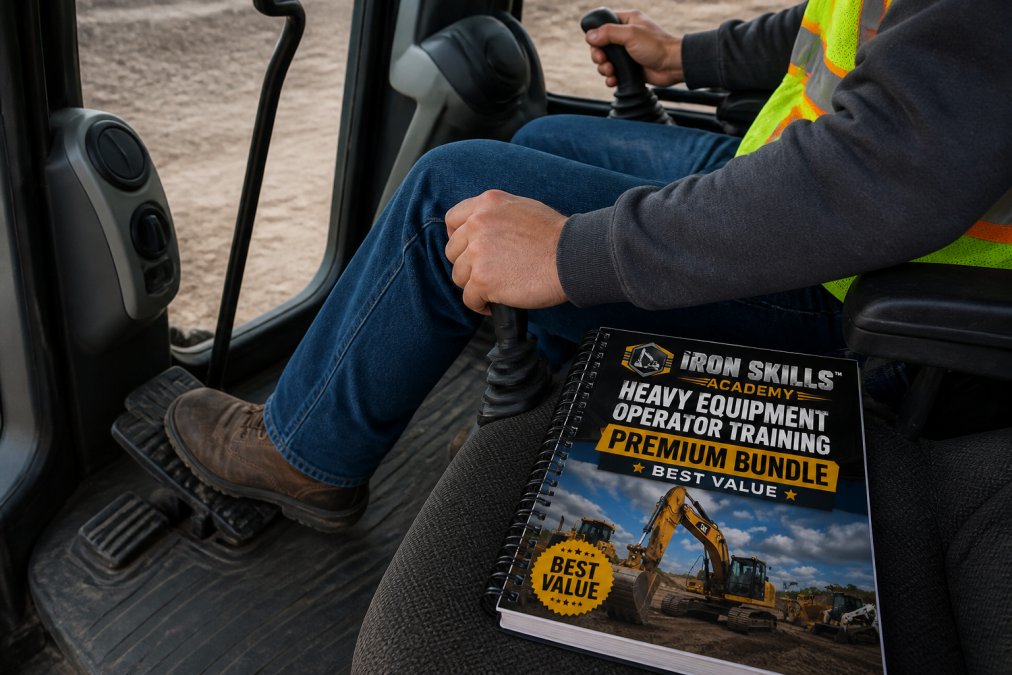
Service brakes: Apply steady, firm pressure to the brake pedal or lever. The machine should decelerate smoothly without jerking. The pedal should feel firm, not spongy or soft. If the pedal sinks or feels mushy, you have air in the brake lines or a leak.
Parking brake: Engage it fully. Put the machine in neutral and verify it doesn't roll. On slopes, the parking brake must hold the machine securely.
Control responsiveness: Test every control, boom, bucket, arm, slew, travel. They should respond immediately to input without delay. Sluggish controls indicate low hydraulic pressure, worn valves, or a leak.
Steering: Full lock left and right should be smooth and immediate. Steering that's stiff, requires excessive force, or has dead spots means something is wrong with the hydraulic steering system or mechanical linkage.
Emergency stop: If the machine has an emergency stop button or lever, test it. It should shut down the engine immediately or cut power to hydraulic systems.
Tire, Track, and Undercarriage Inspection
Tires and tracks bear the machine's weight and provide traction. Failure here causes loss of control or stability.
Tire pressure: Check with a tire gauge. Pressure should match specifications on the tire sidewall or in the operator manual. Underinflated tires overheat and fail. Overinflated tires lose traction and can burst. Uneven pressure causes the machine to pull.
Tire condition: Look for cuts, gouges, or punctures. Chunks missing from the tread mean the tire is unsafe. Bulges or blisters in the sidewall indicate internal damage. Worn tread reduces traction.
Track condition: For tracked equipment, inspect each link for cracks or breaks. Check track tension, too loose and the track will derail; too tight and you'll wear out the rollers and drive sprocket. Remove debris wrapped around the track or sprocket immediately.
Undercarriage: Look underneath for accumulated mud, rocks, or metal. Inspect the frame for cracks, especially around attachment points. Check that all bolts securing the undercarriage are tight.
OSHA Heavy Equipment Inspection Requirements
OSHA doesn't specify a single universal heavy machinery safety inspection checklist, but it does require that equipment be inspected and maintained in safe operating condition. OSHA requires that industrial trucks be examined before being placed in service at the beginning of each shift. For equipment used on a 24-hour basis, this means before each shift, not once per calendar day. Any defect affecting safe operation must result in the truck being taken out of service until repaired. Your inspection program must document that this happened. Keep inspection records for at least three months. Document the date, time, equipment ID, inspector name, findings, and corrective actions. If a defect was found, document who repaired it and when. This documentation proves you're taking safety seriously and protects you if an accident occurs.
Preventative Maintenance Checklist for Excavators
Excavators are complex machines with hydraulic systems, electrical systems, mechanical drive trains, and structural components all working together.
Daily checks: fluid levels, visual walk-around, functional test, brake and control response.
Weekly checks: Inspect all hoses and fittings for leaks or damage. Check battery connections for corrosion. Test all lights and warning systems. Check that the fire extinguisher is accessible and not expired.
Monthly checks: Change engine oil and filter according to the manufacturer's schedule. Inspect the hydraulic system for leaks, contamination, or pressure drops. Check all structural welds for cracks. Inspect the boom and bucket for damage. Test all safety interlocks.
Hydraulic System and Hose Integrity
The hydraulic system is the excavator's nervous system. It powers every major function.
Hose inspection: Look at every hydraulic hose. The outer cover should be intact without cracks, abrasions, or swelling. Hoses that are rubbing against sharp edges or hot surfaces will fail. Move hoses by hand, they should flex smoothly without kinks or permanent bends.
Fittings and connections: Every fitting should be tight and free of leaks. Even a slow weep indicates a loose fitting or damaged seal. Tighten fittings by hand first. If tightening doesn't stop the leak, the fitting or hose needs replacement.
Hydraulic fluid condition: Dark, burnt-smelling, or contaminated hydraulic fluid indicates overheating or internal wear. Fluid with visible water content has been contaminated by moisture. Replace it immediately.
Pressure testing: If the machine has pressure gauges, check them during operation. Hydraulic pressure should be within manufacturer specifications. Pressure that's too low indicates a pump problem or internal leak. Pressure that's too high indicates a valve problem or blocked line.
Structural Components and Welds
The boom, arm, and bucket are welded structures. Welds are the connection points and the most likely places for cracks to develop.
Visual inspection: Look at every visible weld. The weld should be smooth and complete with no gaps or porous areas. Cracks appear as lines running through or adjacent to the weld. Cracks grow under stress and eventually fail.
Boom and arm: Inspect the top and bottom surfaces for cracks, especially near attachment points. Check that all bolts connecting the boom to the machine frame are tight. Loose bolts allow movement that causes fatigue and cracking.
Bucket or attachment: Inspect the bucket for cracks or bent teeth. Check that the bucket or attachment is securely bolted to the arm.
Articulation points: Where the boom connects to the arm, and where the arm connects to the bucket, there are pins and bushings. Excessive play or looseness indicates wear that needs attention.
Safety Features and Protective Devices
Safety features exist to prevent specific hazards. They must be functional and properly used.
ROPS (Rollover Protective Structure): This is the frame around the cab designed to protect the operator if the machine tips. Inspect it for cracks or damage. Operators must wear seatbelts at all times.
FOPS (Falling Object Protective Structure): This protects against objects falling from above. Inspect it regularly for damage.
Backup alarm: This audible warning alerts workers when the machine is reversing. Test it daily. It must be loud enough to hear over jobsite noise.
Rotating beacon and strobe lights: These make the machine visible, especially in low-light conditions. Test them daily. Replace burned-out bulbs immediately.
Mirrors and cameras: Clean them before every shift. Damaged mirrors or cameras that don't function must be repaired immediately.
Seat bar or door interlock: This safety device shuts down the engine if the operator leaves the seat or opens the cab door during operation. Test it regularly.
Heavy equipment accidents are preventable. The machinery safety inspection checklist isn't paperwork, it's the barrier between a routine shift and a life-changing injury. Iron Skills Academy's training materials include comprehensive pre-operation inspection resources and daily equipment inspection templates that help operators and instructors build this habit into every shift. The Iron Skills Academy Heavy Equipment Operator Training Manual covers 20 chapters of safety, inspections, and operating fundamentals designed to help new operators build the foundation they need before climbing into the seat. Start with structured training, follow with disciplined inspections, and you'll see safer operations and longer equipment life.

Frequently Asked Questions
Q: What are the OSHA heavy equipment inspection requirements?
A: OSHA requires daily pre-use inspections for heavy equipment before operation. These inspections must verify that equipment is in safe working condition and document any defects. OSHA standards mandate visual checks of structural integrity, brake function, hydraulic systems, and safety devices. Operators must complete these checks before each shift, and defects must be reported and resolved before the equipment returns to service. Inspection records must be retained for at least three months.
Q: What should be included in a daily heavy equipment walk-around?
A: A daily walk-around should include checking for loose or missing bolts, fasteners, and nuts; inspecting tire or track wear and damage; examining the undercarriage for debris and damage; verifying fluid levels (coolant, hydraulic, brake, fuel); checking mirrors and cameras for functionality; inspecting structural components for cracks; and verifying that fire extinguishers are present and unexpired. Test service and parking brakes, verify backup alarms and rotating beacons work, and scan the work area for hazards. This walk-around takes 10-15 minutes and is the first line of defense against in-service failures.
Q: How often should heavy machinery be inspected for safety?
A: Heavy machinery requires daily pre-shift inspections before each operator begins work. Monthly inspections should cover wear items like wire rope condition, cylinder seals, load-bearing pins, and backup alarms. Annual inspections serve as compliance and condition baselines. Daily pre-shift checks are mandatory under OSHA. If defects are found during daily inspections, equipment must be tagged out and not returned to service until repairs are documented and approved.
Q: What is the difference between a daily inspection and preventative maintenance?
A: Daily inspections identify immediate safety hazards and defects that prevent operation. Preventative maintenance involves scheduled servicing to replace wear items, fluids, and components before failure occurs. Daily inspections catch brake failure or hydraulic leaks; preventative maintenance replaces brake pads and fluid before problems develop. Both are essential. Daily inspections are the operator's responsibility and happen before each shift. Preventative maintenance is scheduled by maintenance teams and documented in a maintenance log to extend equipment longevity and reduce emergency repairs.
Q: Can inspections be done on paper or do they require digital tools?
A: Both paper and digital workflows are acceptable, but digital tools can improve compliance and accuracy. Paper checklists are portable and require no technology, but digital inspection software can simplify record-keeping, create audit trails, and help ensure no steps are skipped. Digital workflows allow real-time defect escalation and ownership assignment. For small operations, printed checklists work; for multi-site companies, digital tools can reduce missed inspections and improve documentation. The key is consistency: use whichever method your team will actually complete every shift without shortcuts.
This article was written using GrandRanker